Update [2017 Aug 5]: Certbot has been developed by EFF and others as an easy-to-use automatic client that fetches and deploys SSL/TLS certificates. I would recommend using it.
Why
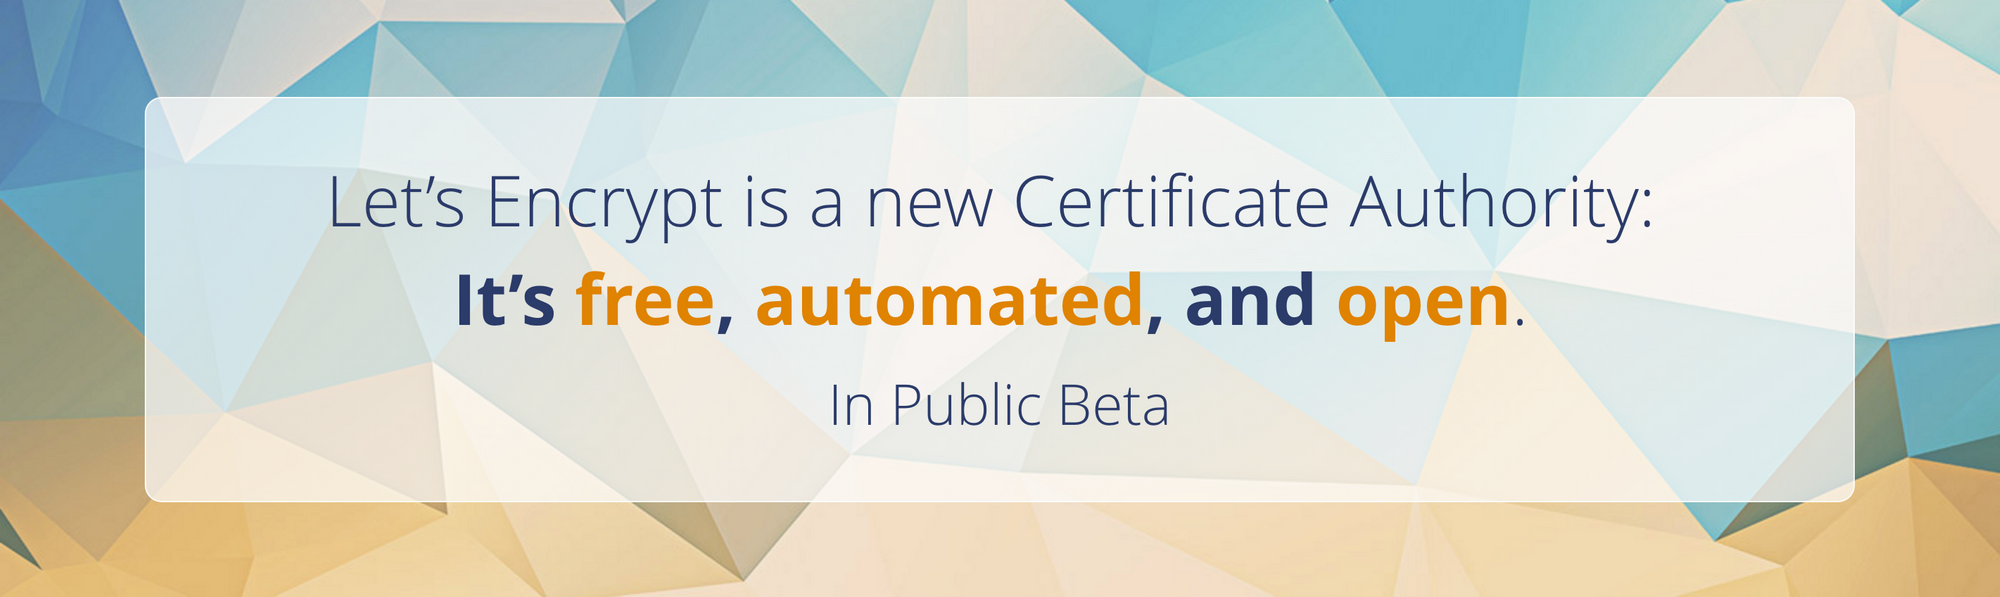
Since you are here, you probably know what Let's Encrypt is and why it exists. If not, below is an executive summary (copied from here):
Anyone who has gone through the trouble of setting up a secure website knows what a hassle getting and maintaining a certificate can be. Let’s Encrypt automates away the pain and lets site operators turn on and manage HTTPS with simple commands.
No validation emails, no complicated configuration editing, no expired certificates breaking your website. And of course, because Let’s Encrypt provides certificates for free, no need to arrange payment.
At the time of writing, Nginx plugin is highly experimental, not included in letsencrypt-auto. So I didn't use it. This post documents how to upgrade your site from http to https and setup auto renewal. If your site is already using https and just want to setup auto renewal, you can skip to Auto Renew.
Prerequisites
- Nginx
- Debian-based distros, e.g. Ubuntu
- Git
- openssl
Setup Let's Encrypt
1. Install Let's Encrypt client
git clone https://github.com/letsencrypt/letsencrypt ~/letsencrypt
cd ~/letsencrypt
2. Free port 80 and 443
With the standalone plugin, Let's Encrypt need to use port 80 and 443 to issue a cert for you. So you need to make sure that port 80 and 443 are NOT in use.
Check if port 80 and 443 are used
  netstat -na | grep ':80 .*LISTEN'
  netstat -na | grep ':443 .*LISTEN'
If nothing shows up, you are good to go. Otherwise, you need to temporarily stop whatever process is using them.
3. Generate certificate
./letsencrypt-auto certonly --standalone
You will be prompted to enter email and domain. Just follow instructions.
After it's done, you should see something like:
Congratulations! Your certificate and chain have been saved at
/etc/letsencrypt/live/your.domain.com/fullchain.pem. Your cert
will expire on YYYY-MM-DD. To obtain a new version of the
certificate in the future, simply run Let's Encrypt again.
That means a cert has been issued to you. You can check it out in directory /etc/letsencrypt/live/your.domain.com. It should have cert.pem, chain.pem, fullchain.pem and privkey.pem.
Now we need to config Nginx to use it.
4. Config Nginx
In the server block for https, you should have the following lines:
  listen 443 ssl;
  server_name your.domain.com;
  ssl on;
  ssl_certificate /etc/letsencrypt/live/your.domain.com/fullchain.pem;
  ssl_certificate_key /etc/letsencrypt/live/your.domain.com/privkey.pem;
  ssl_protocols TLSv1.2;
  ssl_prefer_server_ciphers on;
  ssl_ciphers "EECDH+AESGCM:EDH+AESGCM:AES256+EECDH:AES256+EDH";
  ssl_ecdh_curve secp384r1;
4.1 Use strong DH group
For security reasons, I would strongly recommend using a strong DH group (Here is why).
To generate a strong DH group, 4096 bits
openssl dhparam -out /path/to/dhparams.pem 4096
It will take some time. After it's done, add this line in the same https server block
ssl_dhparam /path/to/dhparams.pem;
4.2 Use HTTP Strict Transport Security
I would also recommend to use HTTP Strict Transport Security. You just need to add this line in the https block
add_header Strict-Transport-Security "max-age=63072000; includeSubdomains; preload";
The complete Nginx config looks like
5. Reload Nginx
sudo nginx -s reload
6. Redirect Http to Https
This step is optional. But I think it's very useful. If you want to redirect your users who are still using http to https automatically, add the following http block
  server {
    listen 80;
    server_name your.domain.com;
    return 301 https://$host$request_uri;
  }
If everything goes right, your site should be serving https now and http (if you did Step 6). Point your broser to https://your.domain.com. And you should see a green lock on the location bar and you can see the certicate information. It looks like this
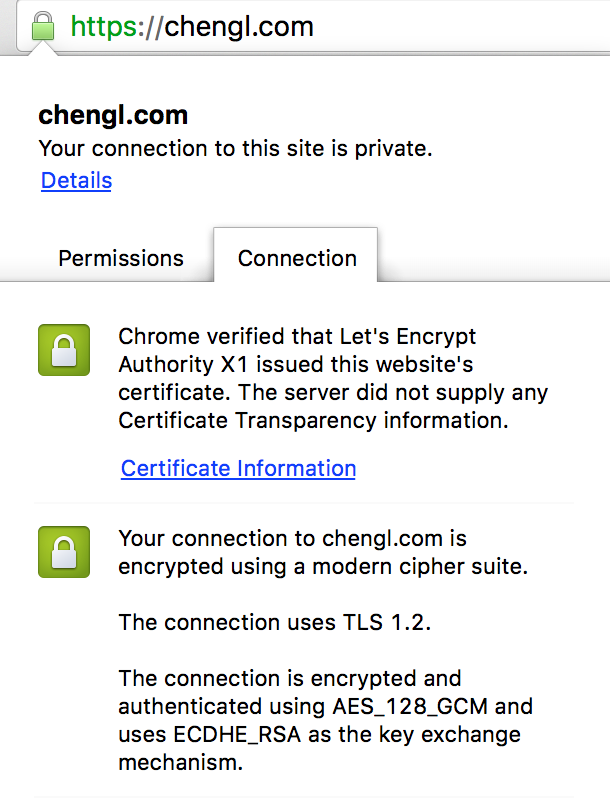
If you are a bit skeptical about the quality of your cert or your configuration, head over to SSL Labs to do a test. If you followed my recommendations to use a strong DH group and HTTP Strict Transport Security, your site should receive grade A+.

Auto Renew
By default, Let's Encrypt certs expire in 90 days. Right now, there is no built-in way to automatically renew it. But it's not hard to write a shell script and cronjob to do the job. You only need three steps
1. Create webroot config file
To renew, we need to use the webroot plugin,
create /usr/local/etc/le-renew-webroot.ini with the following content
rsa-key-size = 4096
email = youremail@example.com
domains = your.domain.com
authenticator = webroot
webroot-path = /usr/share/nginx/html
This file will be used a config file when running webroot.
Btw, you should have root directive and /.well-known defined in the https server block. They are needed by webroot for ACME chanllenge.
root /usr/share/nginx/html;
location ~ /.well-known {
	allow all;
}
Then you can run this to get a new cert
./letsencrypt-auto certonly -a webroot --agree-tos --renew-by-default --config /usr/local/etc/le-renew-webroot.ini
2. Create renewal script
sudo curl -L -o /usr/local/sbin/le-renew-webroot https://gist.githubusercontent.com/thisismitch/e1b603165523df66d5cc/raw/fbffbf358e96110d5566f13677d9bd5f4f65794c/le-renew-webroot
sudo chmod +x /usr/local/sbin/le-renew-webroot
You probably want to take a look at the script /usr/local/sbin/le-renew-webroot and customize it, especially le_path and exp_limit.
You can also run the script manually. If your cert is too new to renew, depending on your configuration in the script, you will see how many days are left. Otherwise, it will renew.
3. Cronjob
The last step is to create a cronjob to automatically run /usr/local/sbin/le-renew-webroot. So that you can sleep well and not to worry that your cert expires.
sudo crontab -e
And add in
30 2 * * 6 /usr/local/sbin/le-renew-webroot >> /var/log/le-renewal.log 2>&1
This cronjob will attempt to renew Let's Encrypt at 2:30 AM every Saturday.
Summary
As you see, setting up Let's Encrypt and making it auto renew is not that hard. It used to be much more painful due to the cost of SSL cert and the efforts to create and maintain it, which gives many people (including myself) excuses not to use https. Now I can't find any excuse not to use https.
Let's Encrypt!